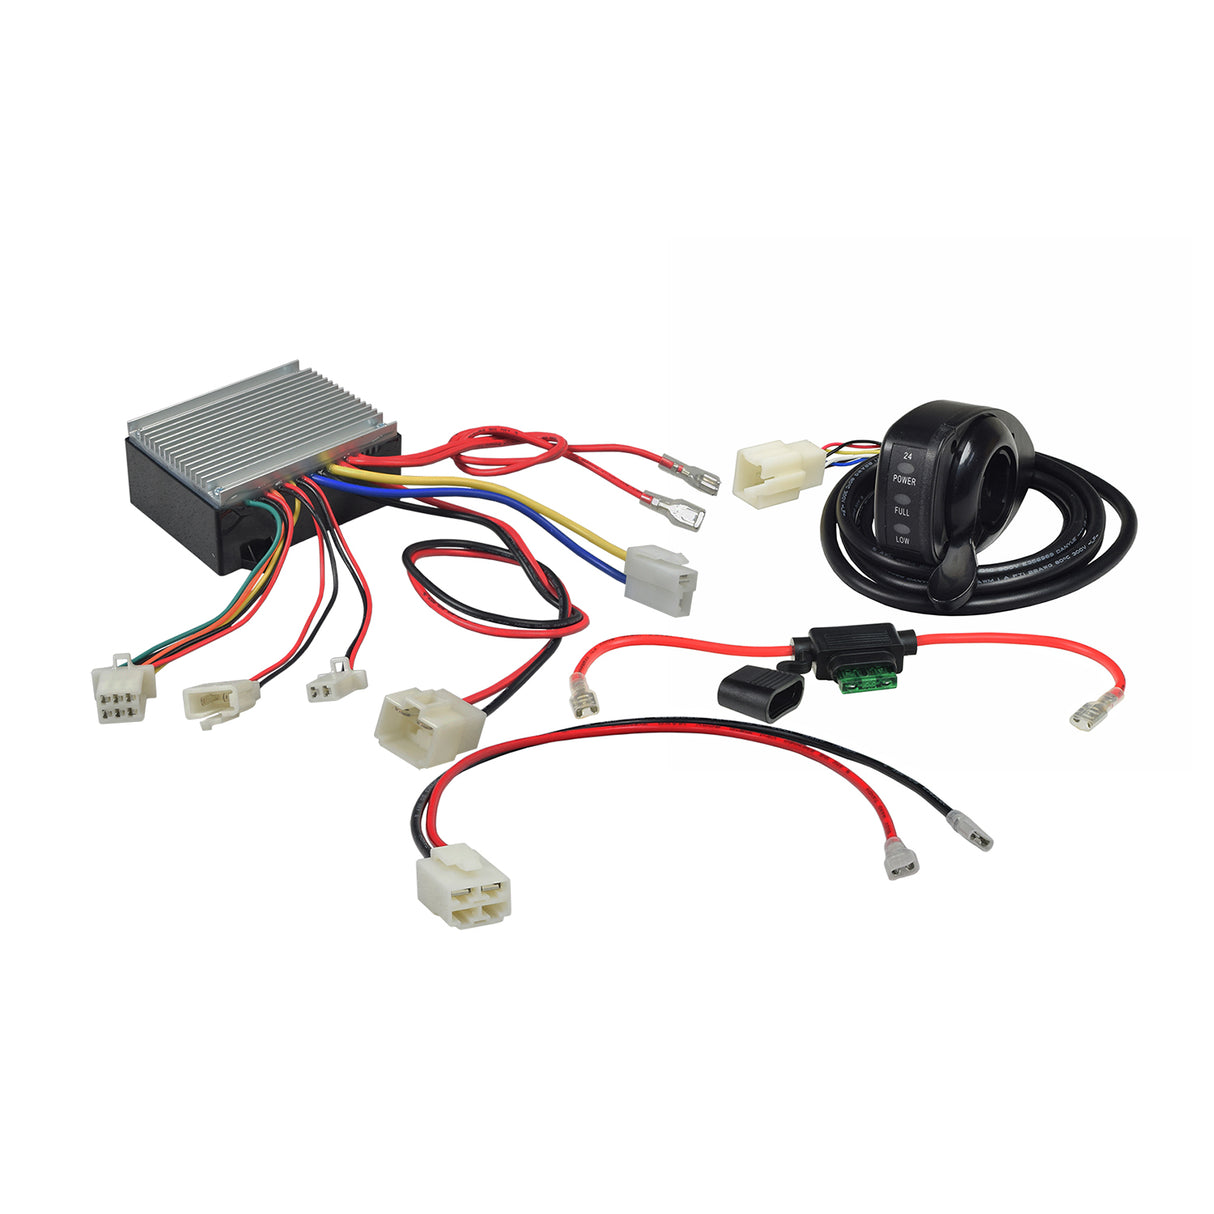
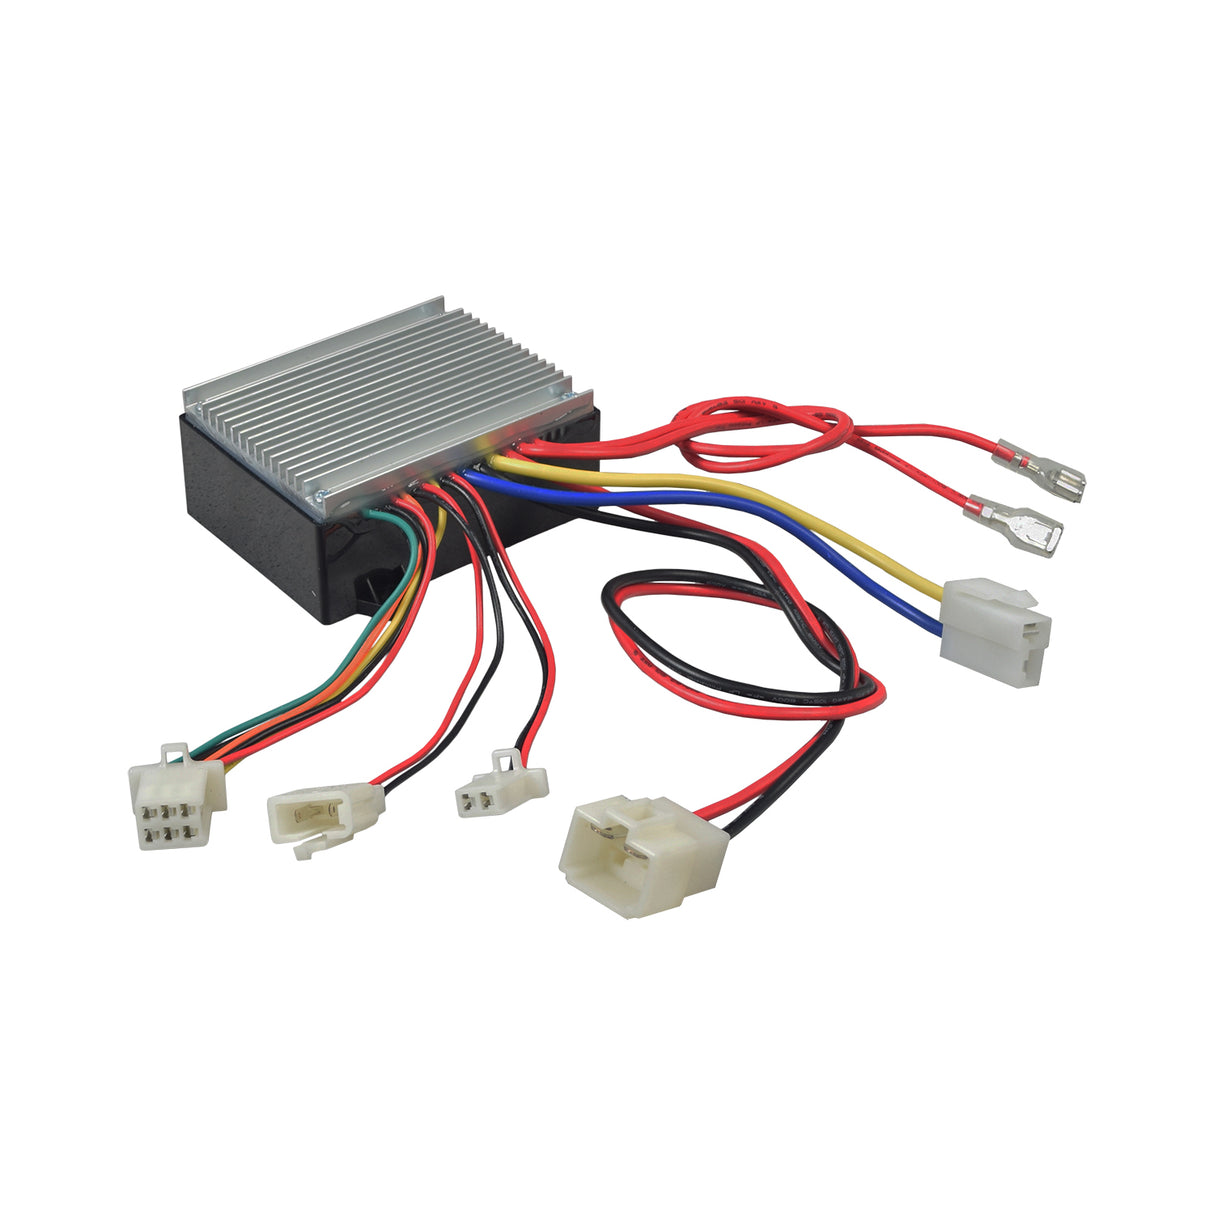
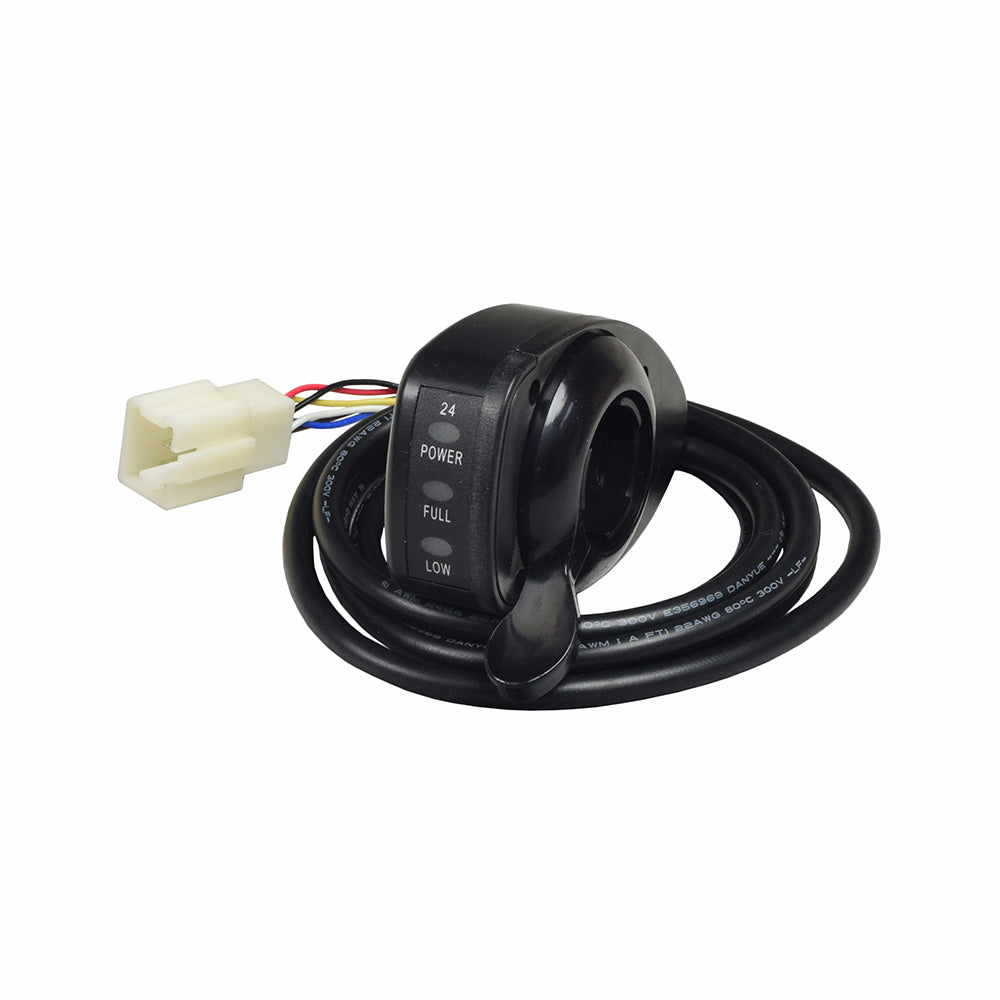
HB2430-TYD6K-FS Razor Controller, Throttle, and Wiring Adapter Kit for the Razor Ground Force Go Kart (Versions 1-12)
$46.99
Unit price
/
Unavailable
HB2430-TYD6K-FS Razor Controller, Throttle, and Wiring Adapter Kit for the Razor Ground Force Go Kart (Versions 1-12) is backordered and will ship as soon as it is back in stock.
Save 10% with coupon code: SAVE10
Free Shipping
Free Shipping
- US domestic ship to addresses only.
- Does not include expedited shipping services.
Description
Description
This Razor control module, throttle, and wiring adapter bundle is designed to retrofit versions 1-12 of the Razor Ground Force Go Kart. Unfortunately, the old CT-201C and HB2430TYCA-FS controllers that were used in versions 1-12 of the Ground Force Go Kart have been discontinued by Razor and are no longer available.
Monster Scooter Parts has put together this kit so that you won't have to scrap your older Ground Force Go Kart just because the control module has gone bad!
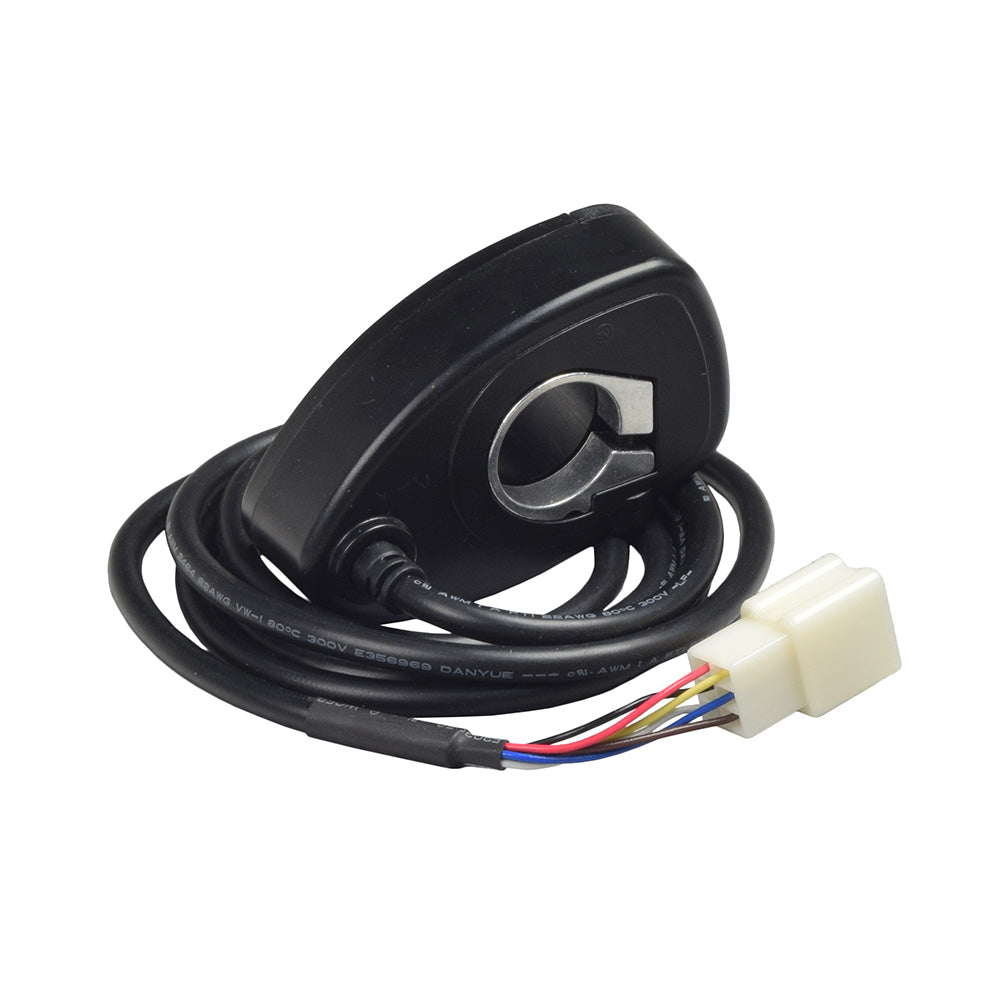
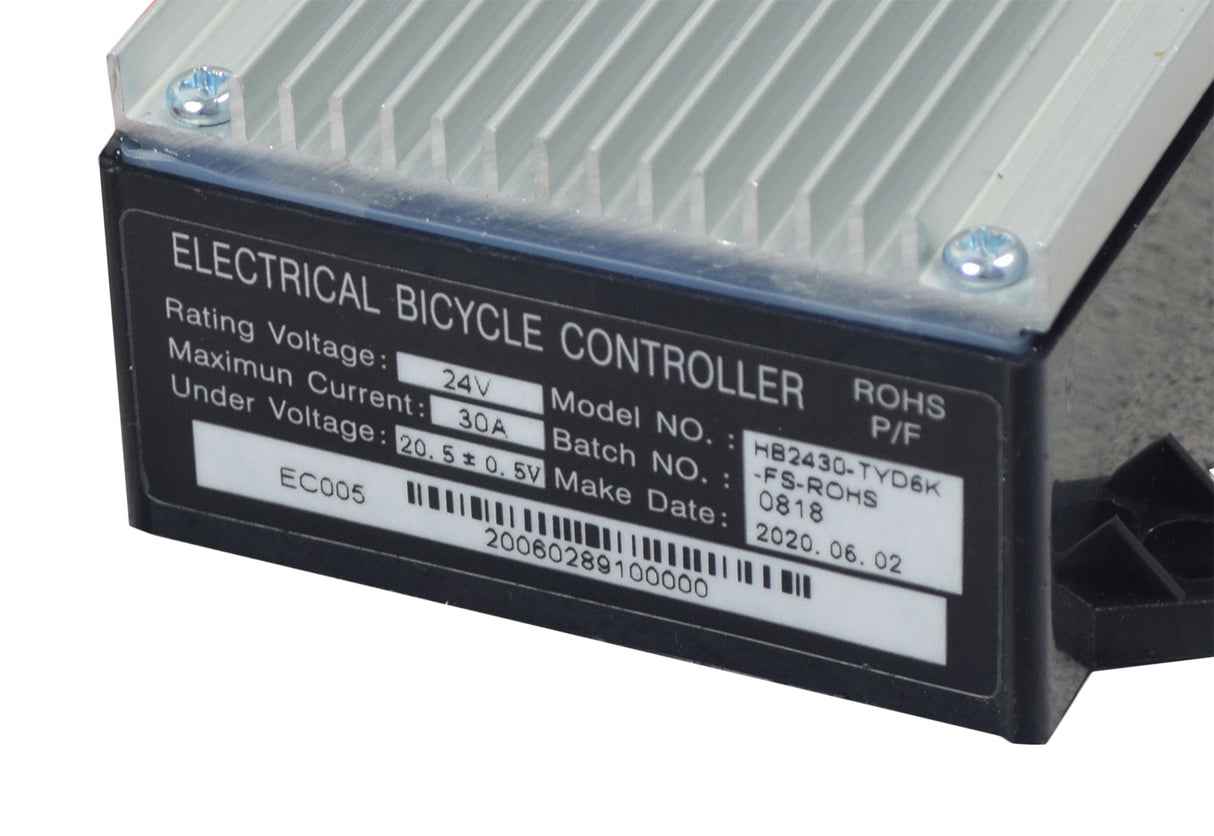
The included HB2430-TYD6K-FS controller and 6-wire variable speed twist grip throttle are the OEM parts used on versions 13 and up of the Razor Ground Force Go Kart. With the addition of a few simple wiring modifications, you can have your version 1-12 Ground Force Go Kart back up and running again in no time.
Before ordering this kit, please review the following wiring diagrams for the Razor Ground Force Go Kart. You will need to be comfortable reading and following these diagrams to successfully install this kit:
Razor Ground Force Go Kart Wiring Diagram (Versions 1-6)
Razor Ground Force Go Kart Wiring Diagram (Versions 7-10)
Razor Ground Force Go Kart Wiring Diagram (Versions 11-12)
Razor Ground Force Go Kart Wiring Diagram (Versions 13+)
You will need to follow the "Version 13+" wiring diagram as you will be converting your old wiring to match the wiring shown here.
Once you read and understand the wiring diagram, please follow these steps to convert your Ground Force Go Kart to "Version 13+" wiring:
1. Connect the following three connectors from your new controller to your existing scooter wiring. Please note that these three connectors from your new controller will connect in the same way as your old controller:
Motor Connector
Handle Brake Connector
Charger Connector
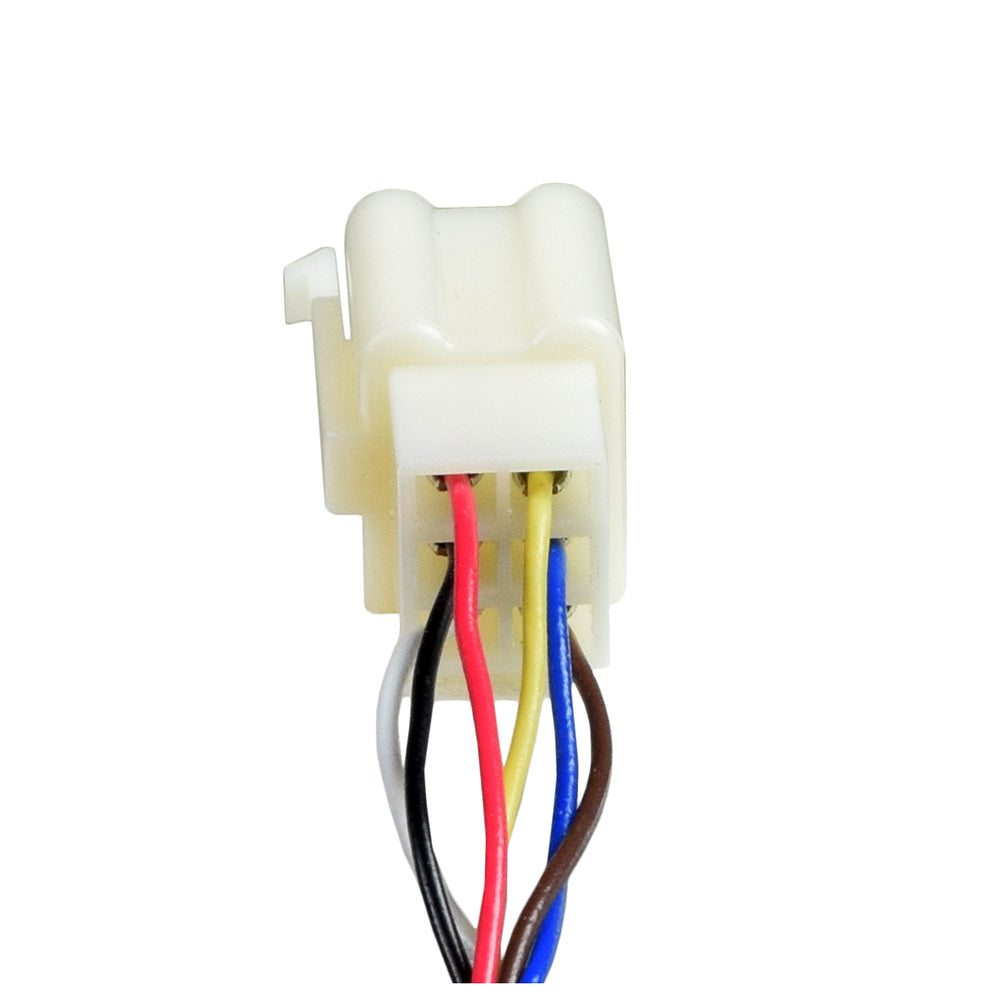
2. Connect the 6-wire Throttle Connector from your new controller to your new 6-wire throttle.
3. While leaving the Charger Port wire connected to your on/off switch, disconnect the other two wires from your on/off switch.
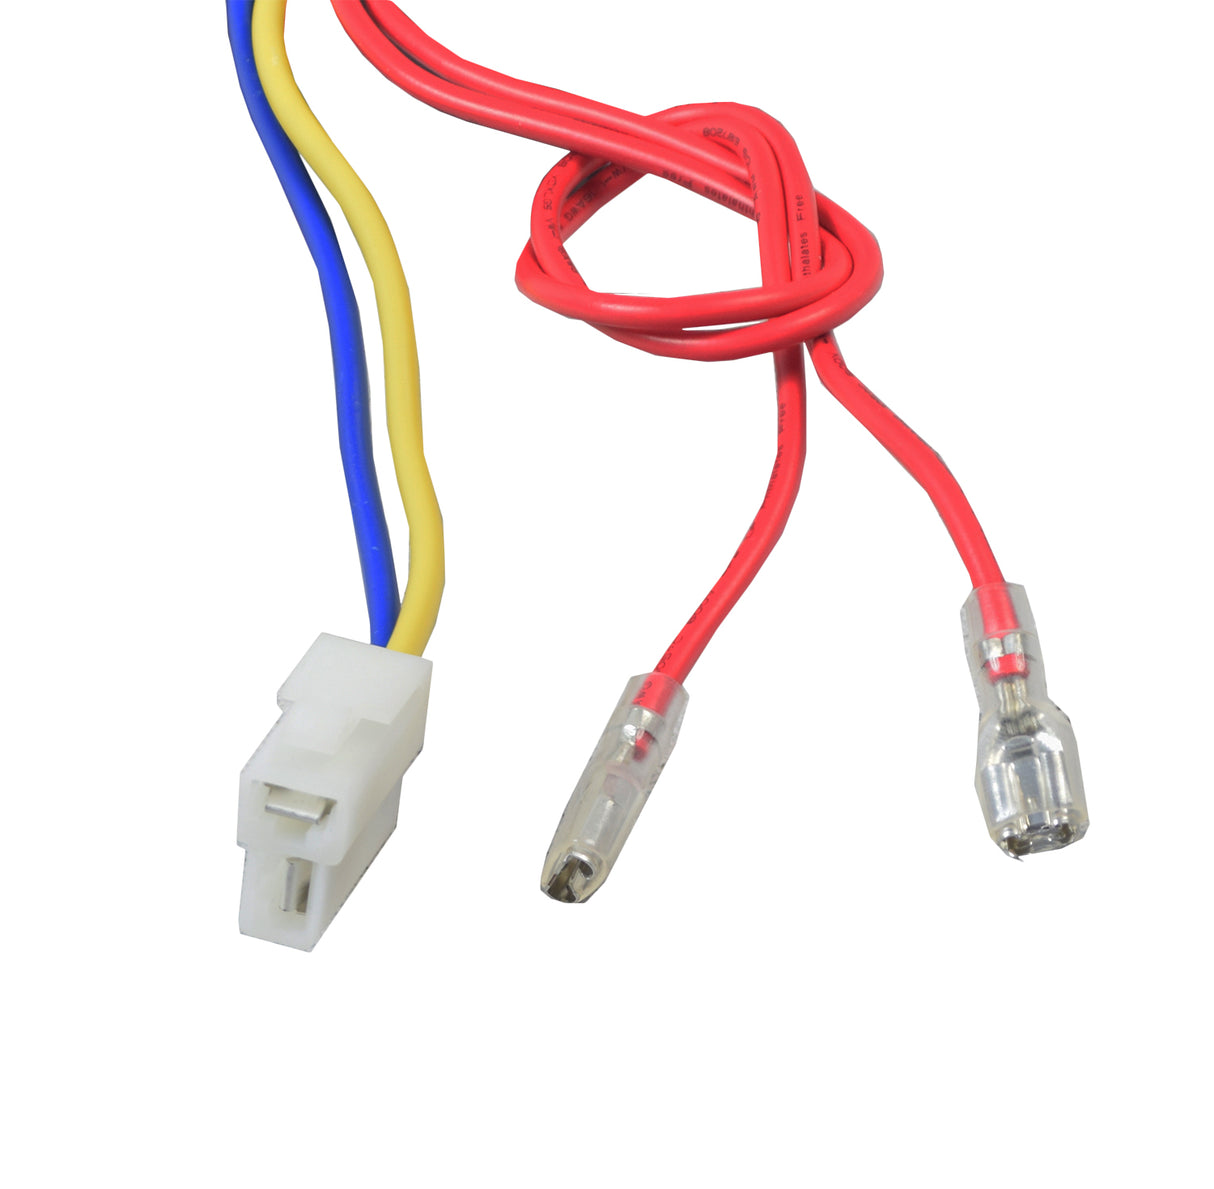
4. Connect the two long wires from your new controller to the remaining two terminals on the back of your on/off switch. It does not matter which wire connects to which terminal.
5. Disconnect both wires from the existing panel-mount circuit breaker mounted in your Ground Force Go Kart. IMPORTANT: You will no longer use this circuit breaker as it will be replaced with an inline fuse connected to your batteries.
6. Remove the wiring harness that previously connected your batteries to your old controller. It will no longer be needed.
7. Remove the old wiring harness from your batteries. If this harness is soldered or hot glued to your batteries, you will need to remove the old solder or hot glue in order to remove the wiring connectors from your battery terminals.
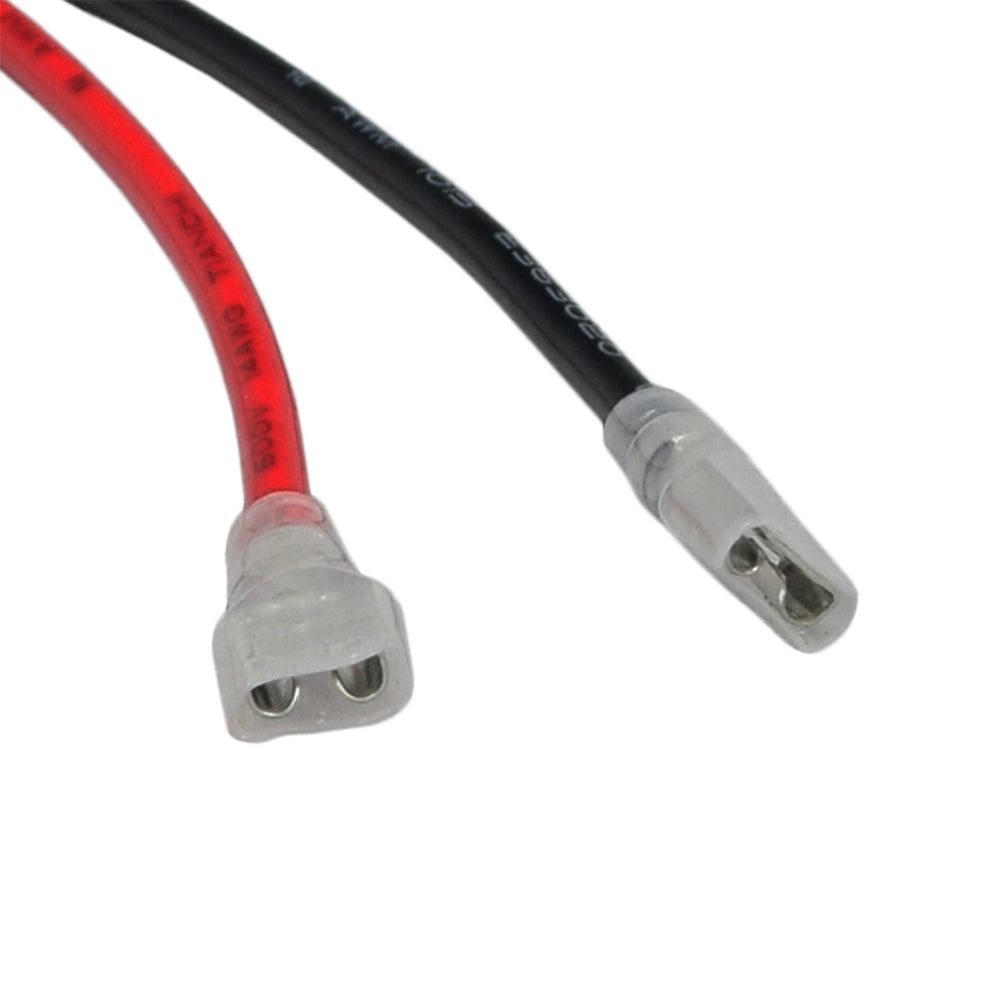
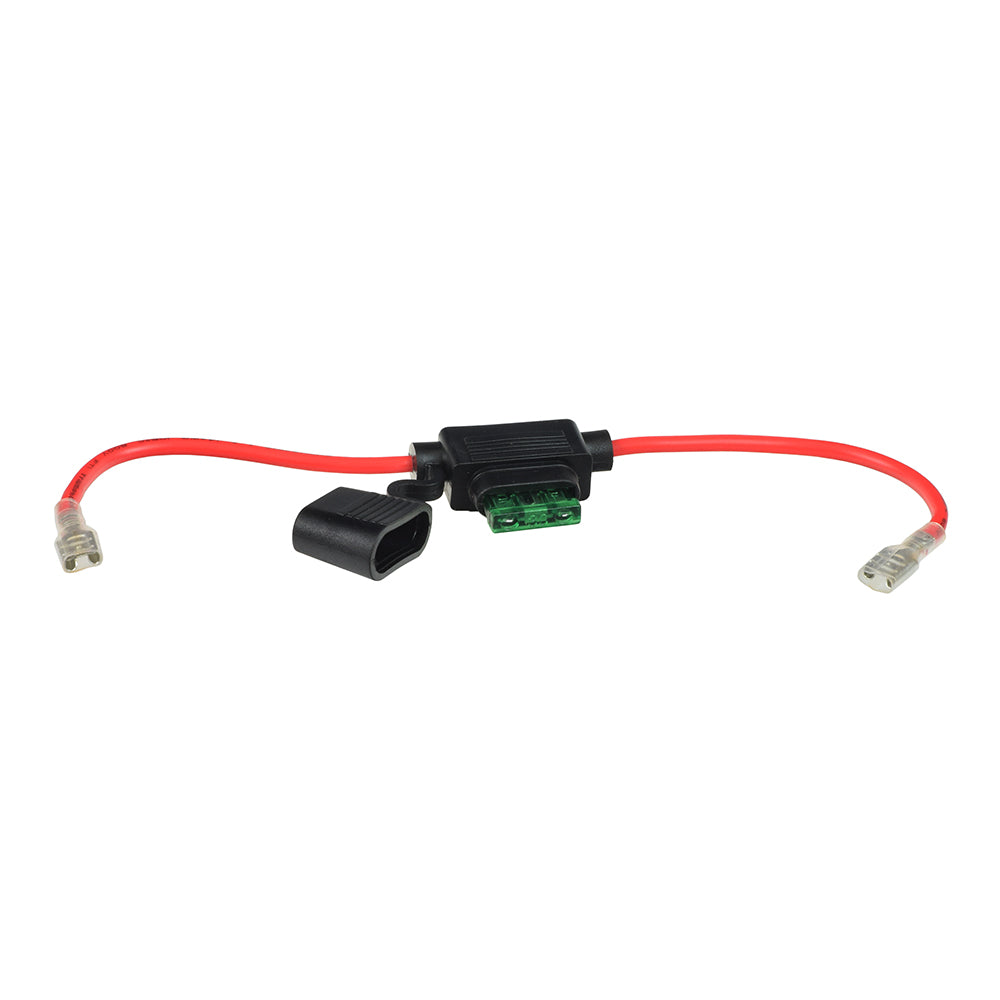
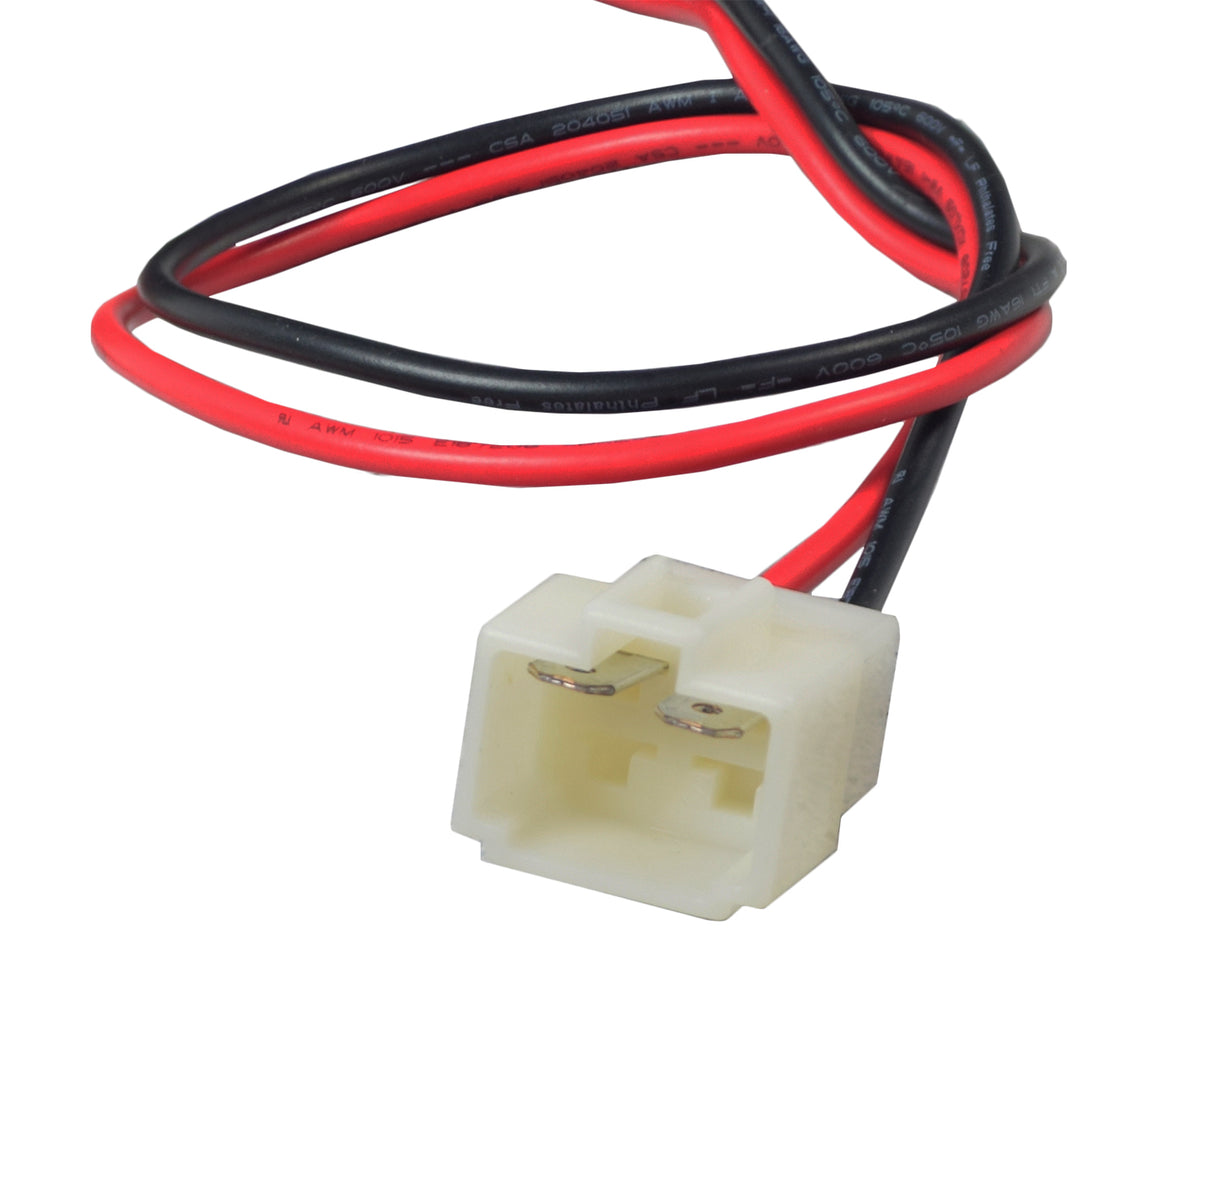
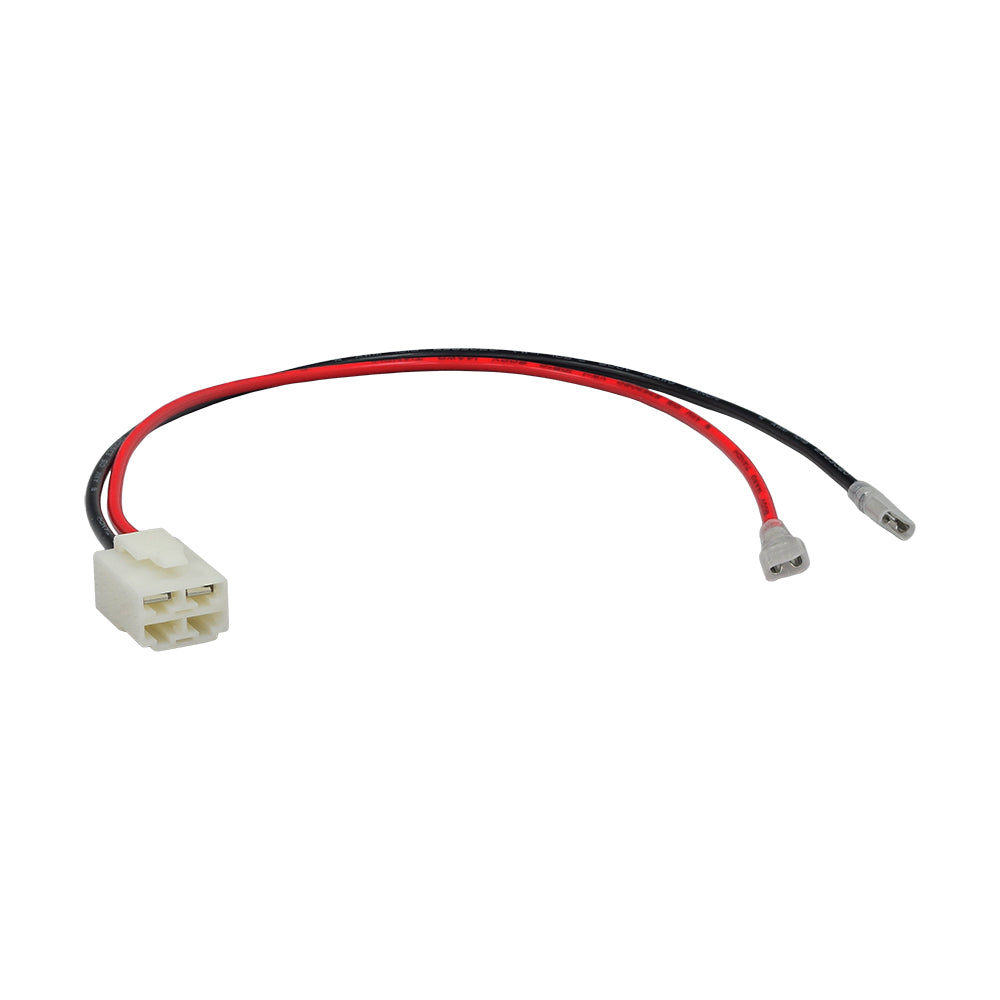
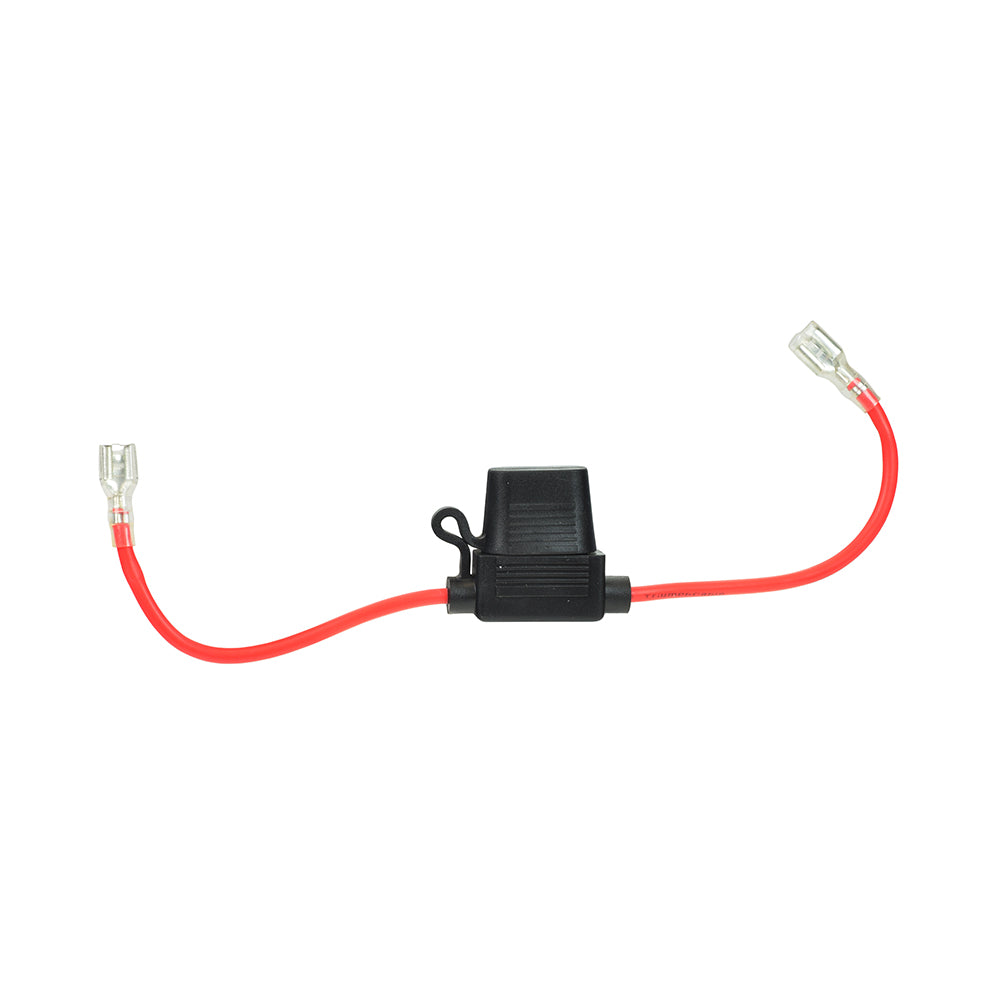
8. Once your old wiring harness has been removed from your batteries, connect your new battery wiring harnesses. The inline 30 amp fuse will be used as a jumper between the two batteries with one end connected to the positive terminal of one battery and the other end connected to the negative terminal of the other battery. With the inline fuse jumper cable in place, the remaining battery harness is connected to the remaining two battery terminals - red wire to the remaining positive terminal and black wire to the remaining negative terminal.
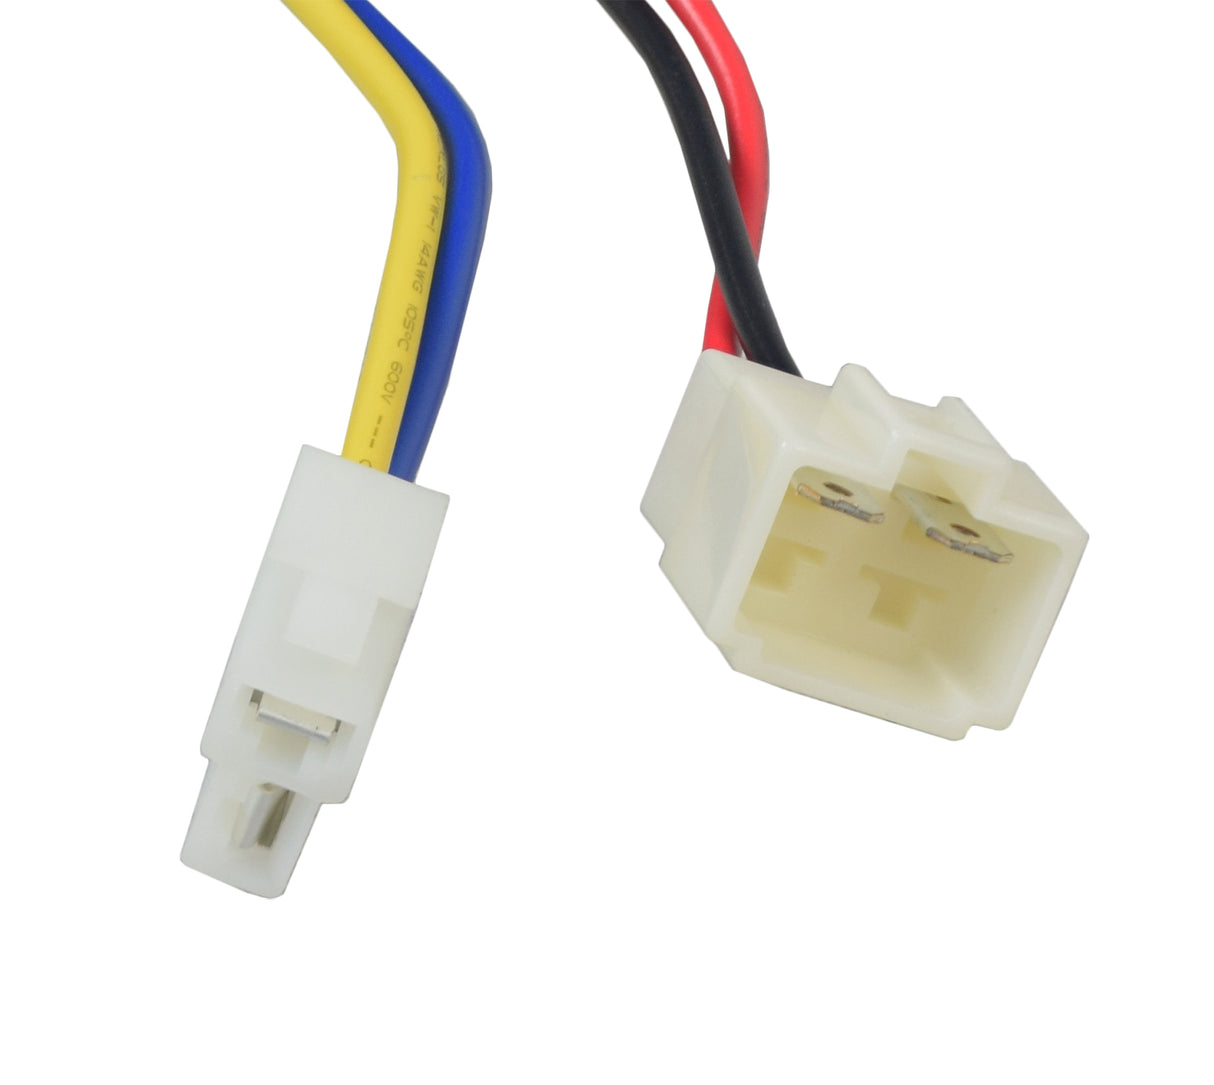
9. Now that your battery harness has been connected to your batteries, connect the new Battery Connector to your new controller. You should now be done!
Want to avoid any potential hassles with removing the wiring from your old batteries? Why not go ahead and replace your batteries while you already have your Ground Force Go Kart opened up anyway? No need to purchase the wiring harness option as all necessary battery wiring harnesses already come with this controller, throttle, and wiring adapter kit!
24 Volt Battery Pack for the Razor Ground Force (Multiple Choices)
Click the following links for general controller and throttle installation instructions from Razor:
Razor Ground Force Go Kart Control Module Installation Instructions
Razor Ground Force Go Kart Throttle Installation Instructions
Note: Model versions can be determined based on the product ID code on your Razor product. The Ground Force Go Kart 19-digit ID can be found on the rectangular white sticker underneath the frame, on the battery cover, or on the original battery charger. The 7th and 8th numbers in your product ID code are the version number of your Razor product (e.g. "01" = Version 1, "02" = Version 2, "09" = Version 9, etc.). The image below shows a product ID of a version 9 Razor model:

Razor: W25141099164
⚠ WARNING California Residents: Proposition 65 Warning
Monster Scooter Parts has put together this kit so that you won't have to scrap your older Ground Force Go Kart just because the control module has gone bad!
The included HB2430-TYD6K-FS controller and 6-wire variable speed twist grip throttle are the OEM parts used on versions 13 and up of the Razor Ground Force Go Kart. With the addition of a few simple wiring modifications, you can have your version 1-12 Ground Force Go Kart back up and running again in no time.
Before ordering this kit, please review the following wiring diagrams for the Razor Ground Force Go Kart. You will need to be comfortable reading and following these diagrams to successfully install this kit:
You will need to follow the "Version 13+" wiring diagram as you will be converting your old wiring to match the wiring shown here.
Once you read and understand the wiring diagram, please follow these steps to convert your Ground Force Go Kart to "Version 13+" wiring:
1. Connect the following three connectors from your new controller to your existing scooter wiring. Please note that these three connectors from your new controller will connect in the same way as your old controller:
2. Connect the 6-wire Throttle Connector from your new controller to your new 6-wire throttle.
3. While leaving the Charger Port wire connected to your on/off switch, disconnect the other two wires from your on/off switch.
4. Connect the two long wires from your new controller to the remaining two terminals on the back of your on/off switch. It does not matter which wire connects to which terminal.
5. Disconnect both wires from the existing panel-mount circuit breaker mounted in your Ground Force Go Kart. IMPORTANT: You will no longer use this circuit breaker as it will be replaced with an inline fuse connected to your batteries.
6. Remove the wiring harness that previously connected your batteries to your old controller. It will no longer be needed.
7. Remove the old wiring harness from your batteries. If this harness is soldered or hot glued to your batteries, you will need to remove the old solder or hot glue in order to remove the wiring connectors from your battery terminals.
8. Once your old wiring harness has been removed from your batteries, connect your new battery wiring harnesses. The inline 30 amp fuse will be used as a jumper between the two batteries with one end connected to the positive terminal of one battery and the other end connected to the negative terminal of the other battery. With the inline fuse jumper cable in place, the remaining battery harness is connected to the remaining two battery terminals - red wire to the remaining positive terminal and black wire to the remaining negative terminal.
9. Now that your battery harness has been connected to your batteries, connect the new Battery Connector to your new controller. You should now be done!
Want to avoid any potential hassles with removing the wiring from your old batteries? Why not go ahead and replace your batteries while you already have your Ground Force Go Kart opened up anyway? No need to purchase the wiring harness option as all necessary battery wiring harnesses already come with this controller, throttle, and wiring adapter kit!
24 Volt Battery Pack for the Razor Ground Force (Multiple Choices)
Click the following links for general controller and throttle installation instructions from Razor:
Note: Model versions can be determined based on the product ID code on your Razor product. The Ground Force Go Kart 19-digit ID can be found on the rectangular white sticker underneath the frame, on the battery cover, or on the original battery charger. The 7th and 8th numbers in your product ID code are the version number of your Razor product (e.g. "01" = Version 1, "02" = Version 2, "09" = Version 9, etc.). The image below shows a product ID of a version 9 Razor model:

Razor: W25141099164
⚠ WARNING California Residents: Proposition 65 Warning


