Monster Scooter Parts | SKU:
S73-8094
| Pride Mobility: RECPART1129
| Golden Technologies: MBZ00058
| Merits: P77909
| Shoprider: P77909
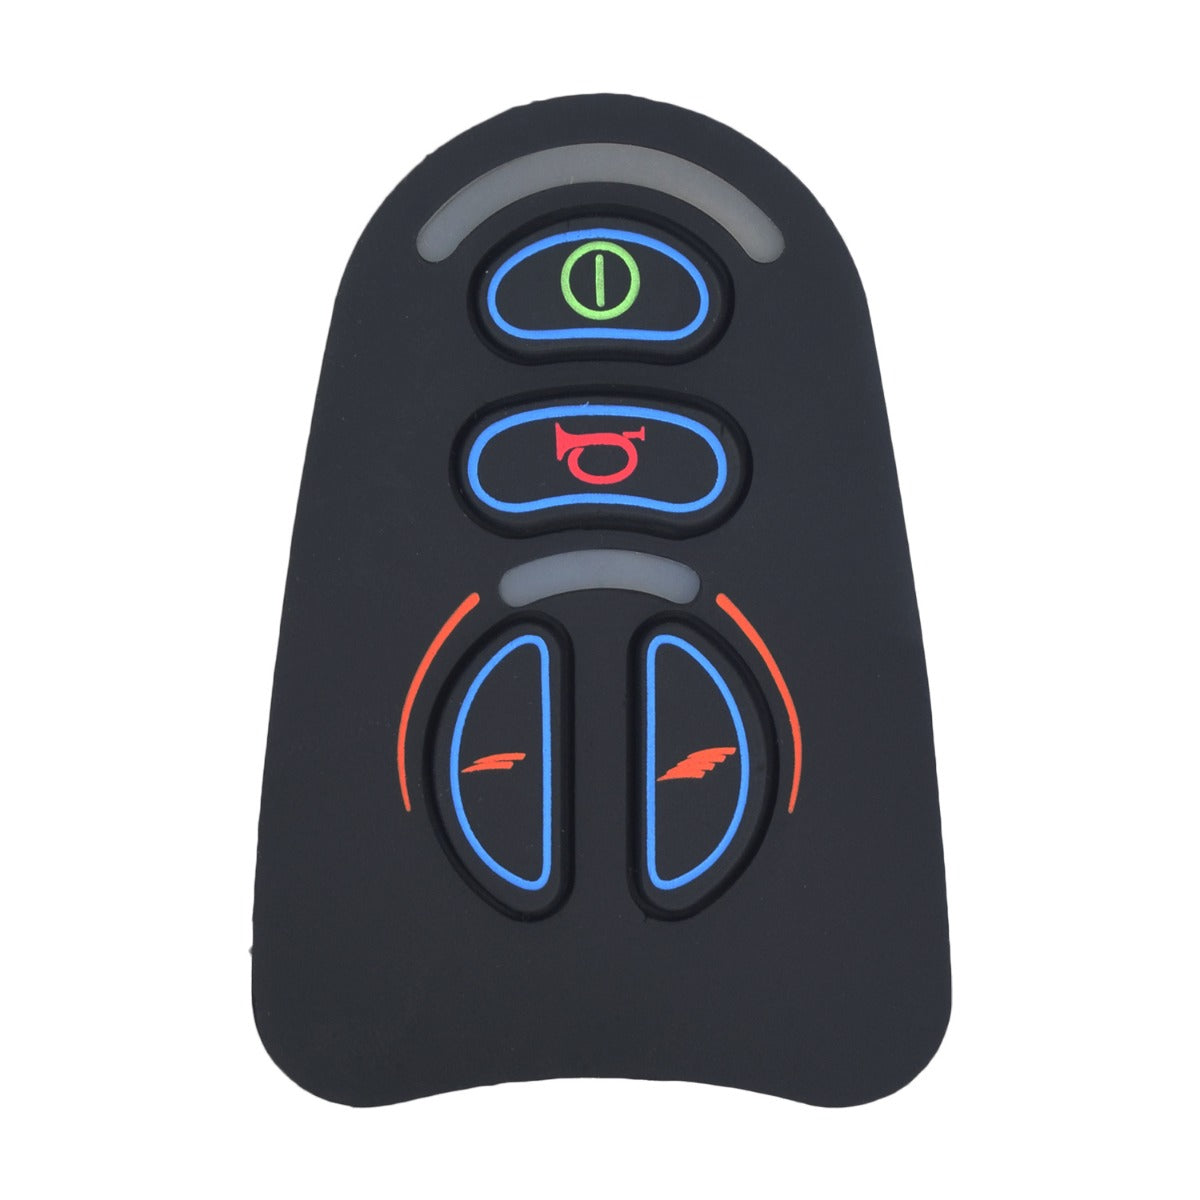
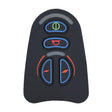
Keypad for 4 Key VR2 Joystick Controller
$24.79
Unit price
/
Unavailable
Keypad for 4 Key VR2 Joystick Controller is backordered and will ship as soon as it is back in stock.
Save 12% with coupon code: WINTER12
Free Shipping
Free Shipping
- US domestic ship to addresses only.
- Does not include expedited shipping services.
Key Features
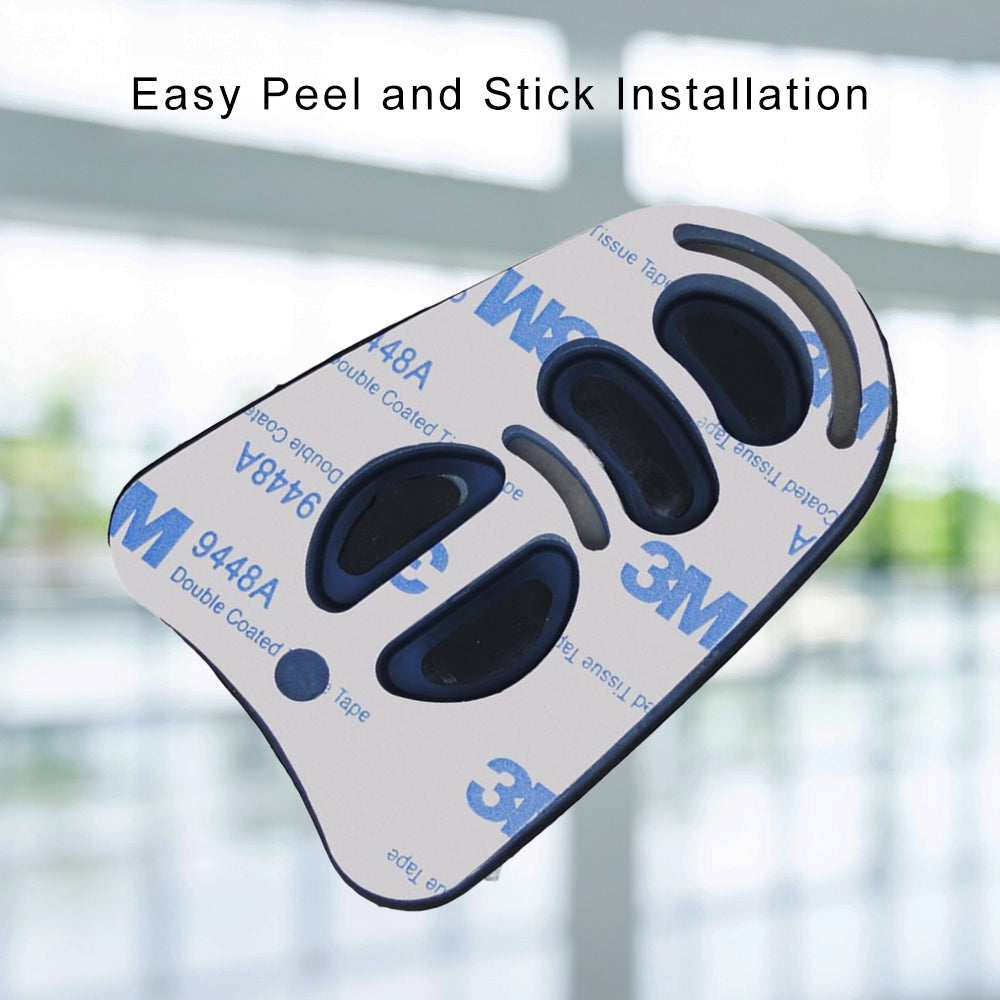
- Easy peel-and-stick replacement!
- Fixes common joystick problems
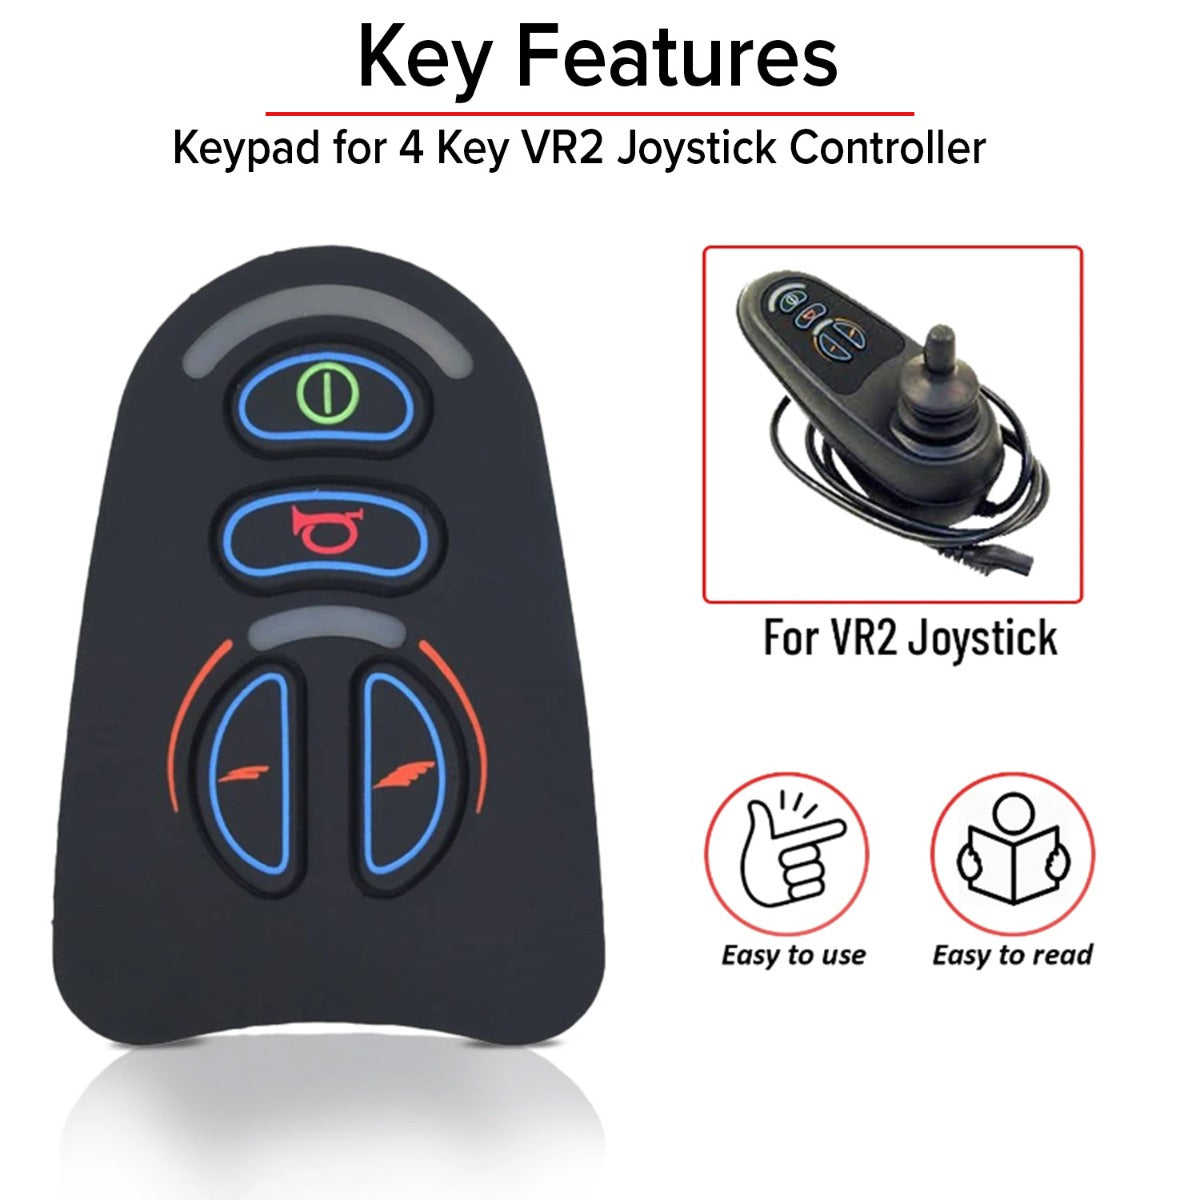
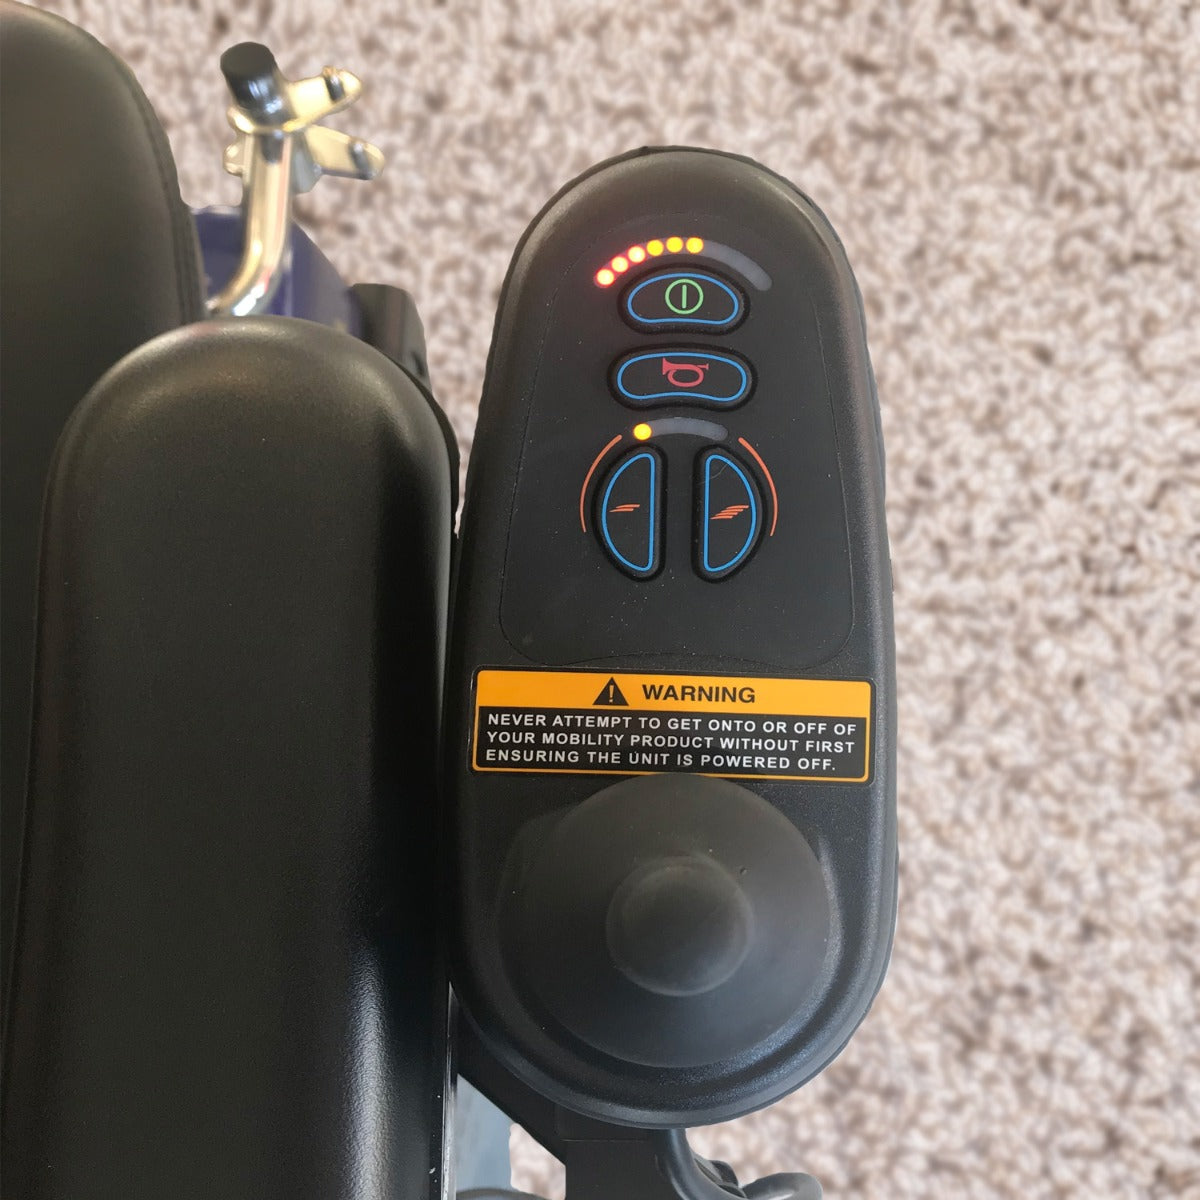
- Horn key
- On/Off key
- Speed/profile decrease key
- Speed/profile increase key
- Compatible with many different power chair brands
Description
Description
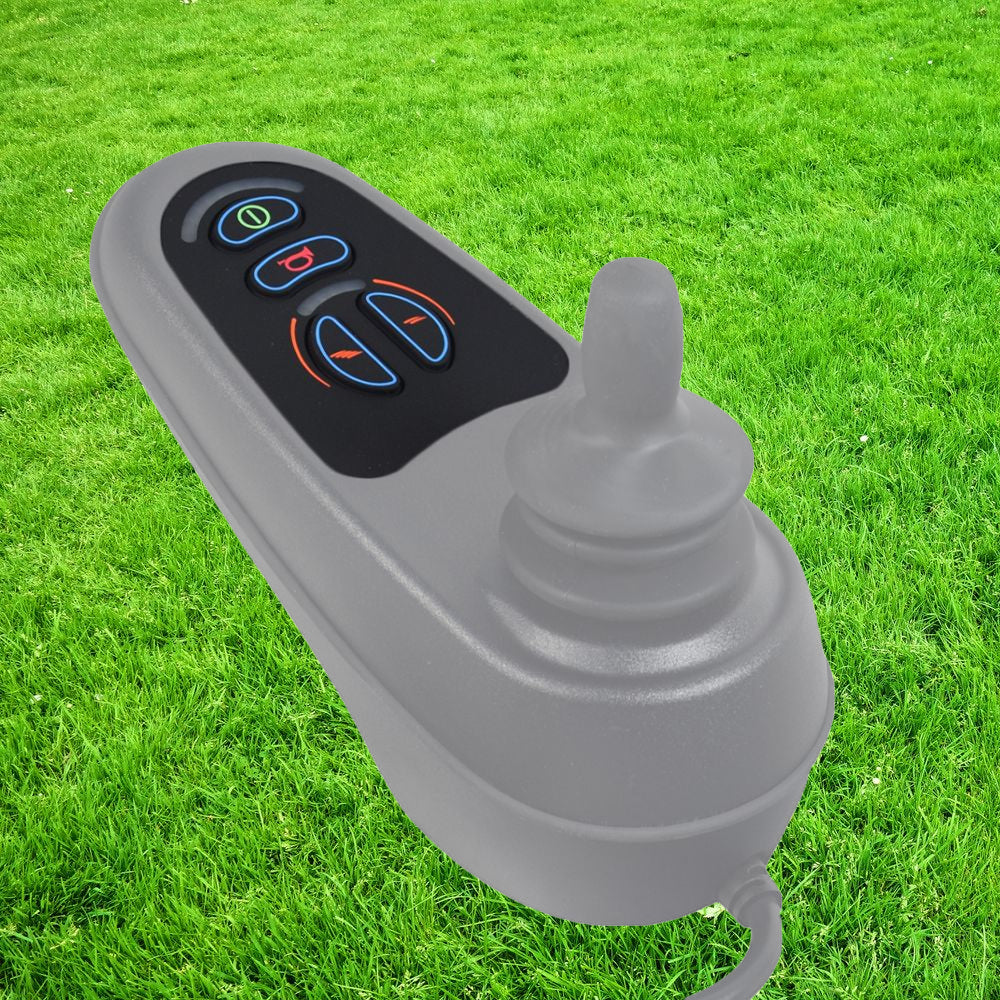
Do you need a replacement keypad for the 2- key VR2 joystick controller? If you do, then we have the peel & stick keypad that your joystick requires.
This keypad is one of our best selling parts for mobility power chairs. If you use your chair daily you already know that the keypad is an easily replaced item. If your old keypad is worn beyond hope, then don't buy another joystick, just pop a new keypad on it and get mobile again.
Installation Instructions:
1. Ensure the wheelchair power is turned off.
2. Pull the gray collar back and disconnect the joystick cable from the joystick.
3. Peel up and remove the existing, damaged keypad from the joystick face plate.
4. Inspect the joystick contacts, face plate, and joystick housing for corrosion and/or damage.
5. Using an alcohol prep pad, remove any adhesive from the joystick face plate.
6. Ensure no adhesive remains around the rim of the joystick face plate.
7. Gently remove any adhesive that may have collected in the lighting or contact cutouts of the joystick face plate.
8. After cleaning, set the joystick aside for ten minutes to allow all alcohol to evaporate from the joystick face plate.
9. Inspect once more for adhesive lumps or residue. If necessary, repeat steps 5-8 to clean the joystick face again if adhesive is present.
10. Remove the backing from the new keypad.
11. Align the bottom edge of the keypad with the bottom edge of the joystick face plate. Ensure the keypad is properly aligned with the joystick face plate before installing. The overlay is not repositionable.
12. Working from the bottom up, gently press the keypad completely into the joystick face plate.
13. Firmly press the keypad into the joystick face plate ensuring proper seal between the adhesive and joystick face plate.
14. Ensure the keypad is completely seated into the joystick face plate and no air pockets or ripples are present around the edge of the keypad.
15. Connect the joystick cable to the joystick.
16. Turn on wheelchair power and test the joystick functions.
17. If the joystick does not function properly, you may have a faulty joystick.
Pride Mobility: RECPART1129
Golden Technologies: MBZ00058
Merits: P77909
Shoprider: P77909
⚠ WARNING California Residents: Proposition 65 Warning
Reviews (18)
Reviews (18)
Specifications
Specifications
Compatibility
Compatibility
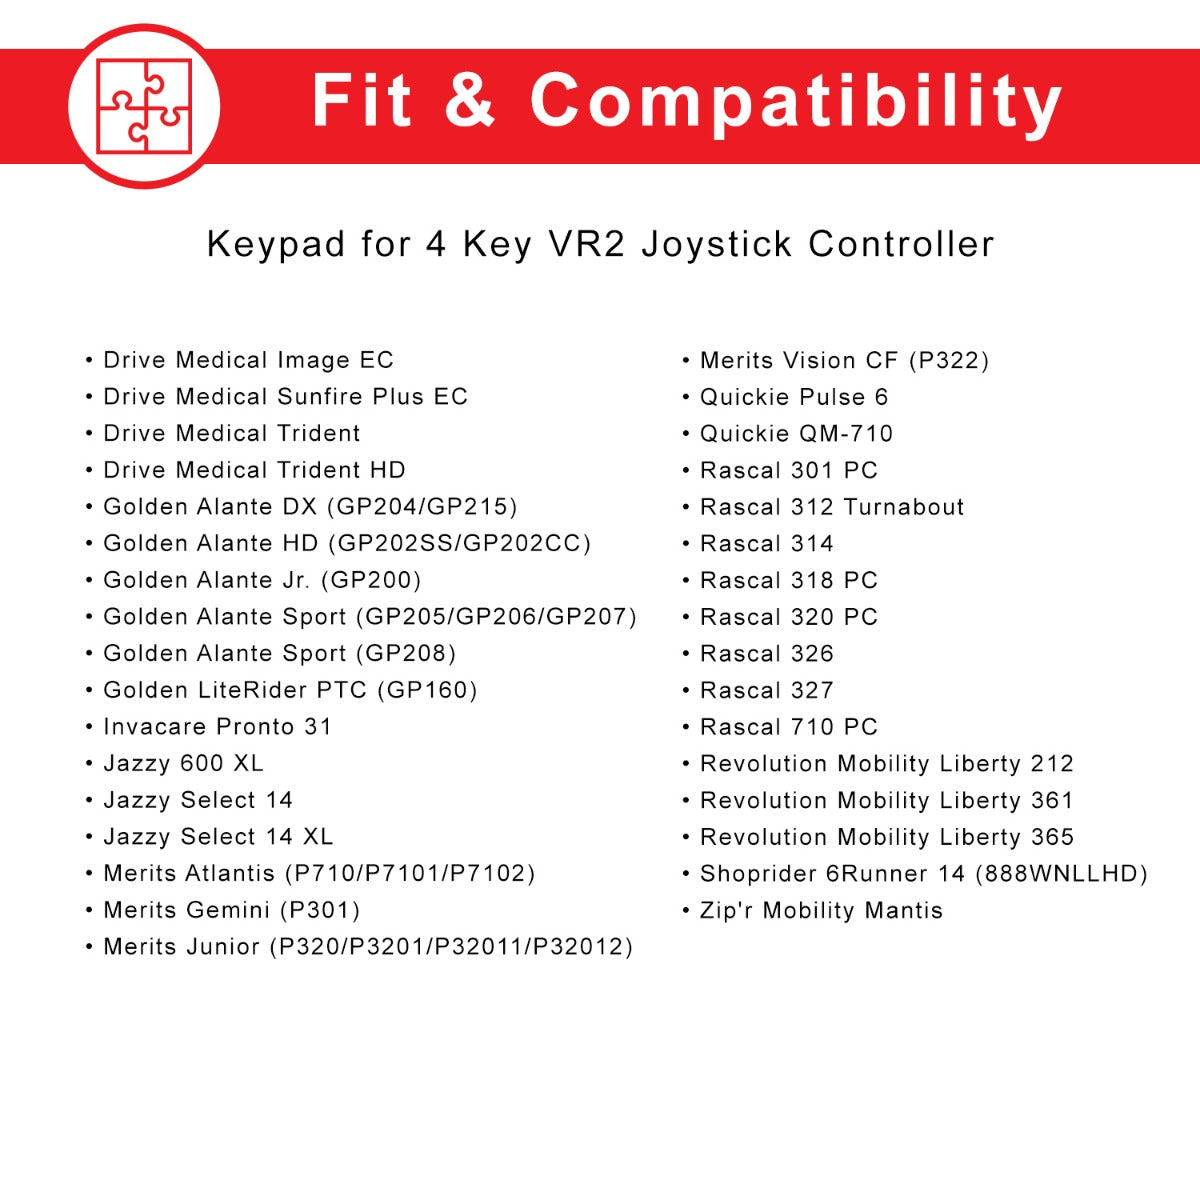
- Drive Medical Image EC
- Drive Medical Sunfire Plus EC
- Drive Medical Trident
- Drive Medical Trident HD
- Golden Alante DX (GP204/GP215)
- Golden Alante HD (GP202SS/GP202CC)
- Golden Alante Jr. (GP200)
- Golden Alante Sport (GP205/GP206/GP207)
- Golden Alante Sport (GP208)
- Golden LiteRider PTC (GP160)
- Invacare Pronto 31
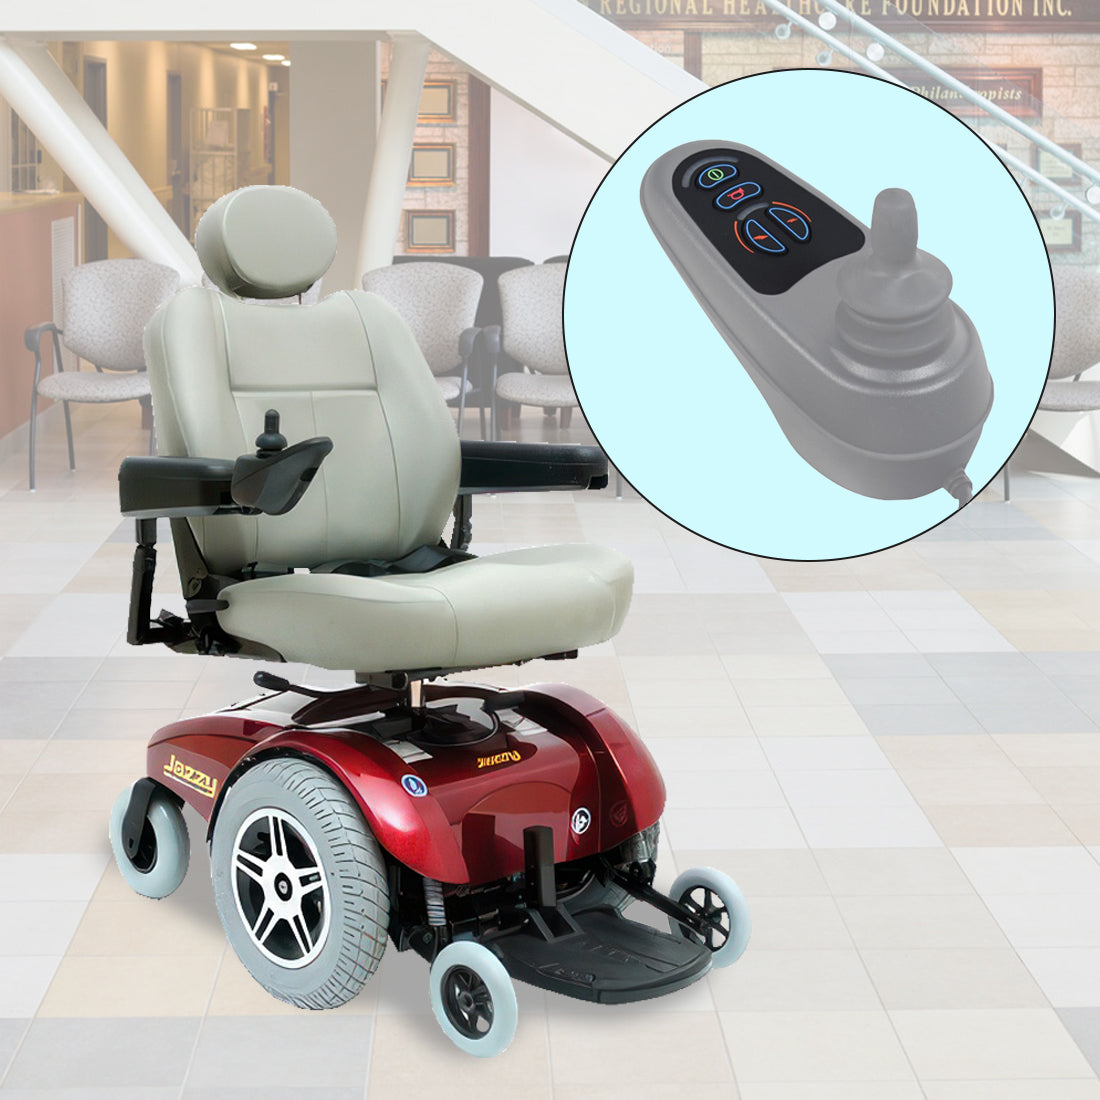
- Jazzy 600 XL
- Jazzy Select 14
- Jazzy Select 14 XL
- Merits Atlantis (P710/P7101/P7102) (Old Version)
- Merits Gemini (P301) (Old Version)
- Merits Junior (P320/P3201/P32011/P32012)
- Merits Vision CF (P322)
- Quickie Pulse 6
- Quickie QM-710
- Rascal 301 PC
- Rascal 312 Turnabout
- Rascal 314
- Rascal 318 PC
- Rascal 320 PC
- Rascal 326
- Rascal 327
- Rascal 710 PC
- Revolution Mobility Liberty 212
- Revolution Mobility Liberty 361
- Revolution Mobility Liberty 365
- Shoprider 6Runner 14 (888WNLLHD)
- Zipr Mobility Mantis


